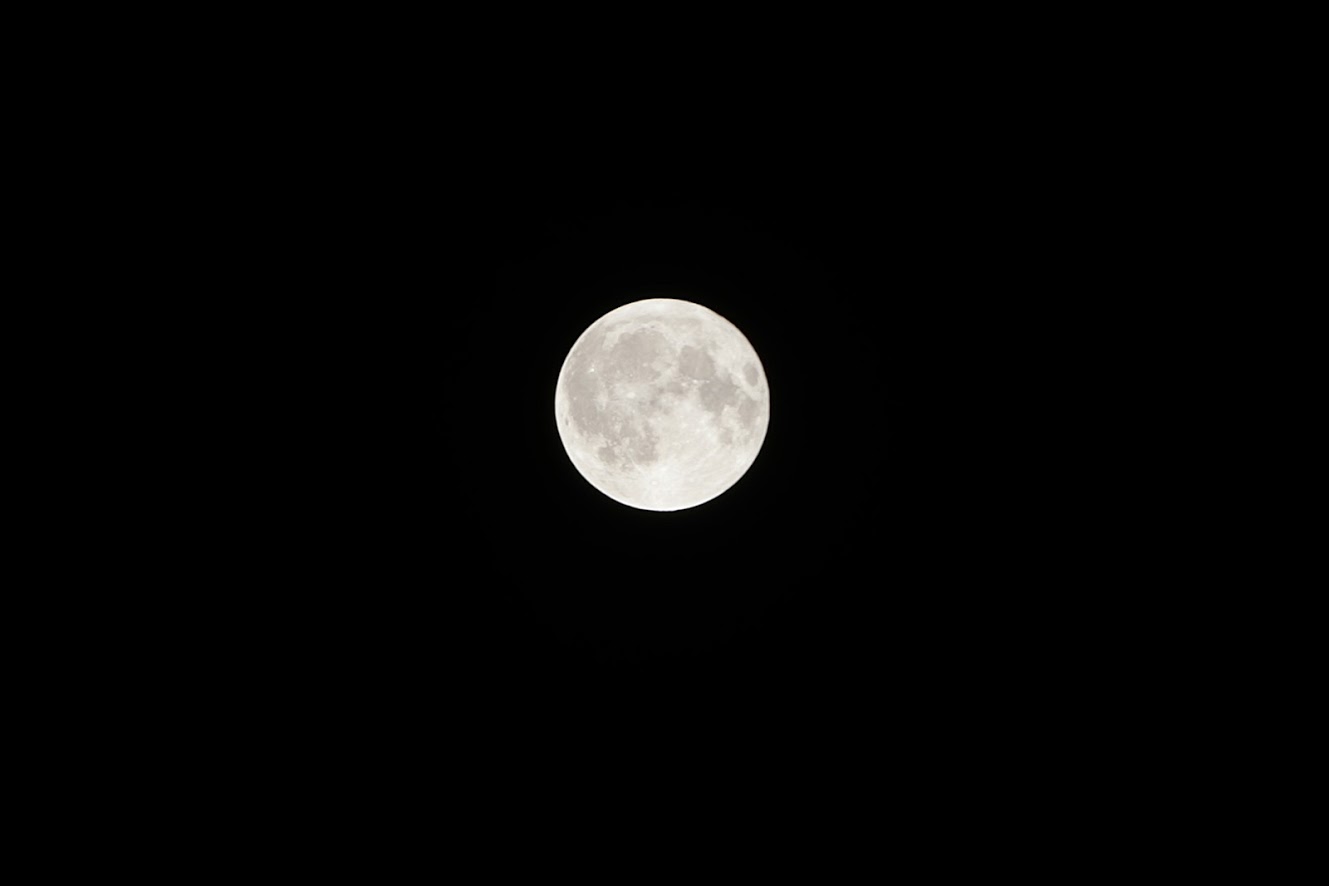
Here is a photo I was able to do yesterday
What is needed
- The camera with interchangeable lens (Canon / Nikon / Sony / Fuji и тд) OR with a good zoom (Some of Nikon). Camera model is not much of a difference.
- Lens (better with larger focal length, recommended 300mm or 400mm) cropped sensor or 500mm for fullfreyma. This will determine the final resolution of the image. Unfortunately, I have in the arsenal was only whale 135mm lens and Tamron 200mm. The difference here is small, just have to sprinkle heavily frame, it's desirable, that the entire moon is entirely placed in a frame (in the ideal case), I have the same at 135mm entire frame was black with a small dot in the center.
- Computers & Software Registax 6 (windows) (mirror (win) | PF. website) and if you have Mac OS X – go here
- Adobe Lightroom (it's desirable)
- Tripod or monopod (it's desirable)
- A clear day / night, to the moon could be seen
- Find a good place, where the moon can be seen
Preparation and Setup
We need to do a lot of pictures, about a hundred and more (with a digital camera is easy to let yourself).
Shoot in RAW, in this case the meaning is not particularly, but if your camera's large buffer for RAW files – (at least 100), you can shoot in RAW. My camera buffer for RAW small – Total 7 shots, but for jpeg – about 1000, so I put the camera in JPEG mode. ISO settings – 100, aperture f / 8.0 and shutter speed – 1/20 seconds. Settings are not universal, It depends on the lens and camera. Can be translated into the metering mode Center point, bring on the moon's center and watch the bottom Expometr, it should be equal to or 0EV something about 1EV. Therefore, we do a test shot and immediately look at it on the screen. whether the items can be seen of the moon? Does it come into focus? When photographing try not to shake the camera, and rests on the ground a tripod or monopod, We focus on the moon and take a picture. If the moon is darkish, you can open up the aperture or shutter speed increase (It was 1/20 seconds, will do 1/10), but it grows a chance to spoil the picture of camera shake. And yes, Zoom should be set to maximum, so far as the lens (to the moon filled the whole frame)
If you like everything, settings selected, is holding fast to the camera, uperev in the ground monopod, We focus on the moon and do continuous shooting randomly number of frames (more). If a monopod or tripod is not, you should try to hold the camera firmly and confidently and to include a stabilizer, if he is. at the same time (once came), You can close the aperture a little bit up to f / 11 and shoot a couple hundred frames, also it is desirable to put the camera on a tripod, focus on the moon, and a remote control to start recording, turning off the regulator. Also on the SLR can turn LiveView mode, This will remove the mirror and taking it will not shake the camera.
Post-processing
It is very desirable to have Adobe Lightroom, import it all the images and select only the most dramatic of them (pcs 30-100). Then do crop the frame,, removing the most of all the black areas around, leaving the center of the moon + small black frame (sky) and apply crop all photos. This will reduce the image resolution output, so Registax will not choke when stacking.
We export it all in the quality of JPEG 85% in a separate folder and run Registax. At the top, select Select, choose photos (kropnutyh) and click Set Alignpoints. This will lead to the appearance of red spots in the picture.

Next, click “Align” and cross our fingers, because this process may stop responding. If this happens, You have to kill the process and start again, selecting fewer photos. Also in the upper right corner there is a number of streams, try to put back the number of physical cores. I work well with the number of 4.
Also in this same window above, you can try to choose “Intensity selection” Default or 3 in×3.
Then go to the Limit menu and click Stack. It can be a long process, can just hang (I think hangs occur due to RAM. Even if you do a lot of, 32bit program, and, it seemed to me, can not allocate more than 4 GB of RAM, so stuck)

Next, go to the Wavelet menu. Download the file (mirror). Come on down and select Load scheme. In the resulting window, select the newly downloaded file, who prepared Tony Northrup (as well as all the tutorial, just here in Russian). and press “Do all”. After some time, the process is finished and you can click the Save image, to save the result.
What for?
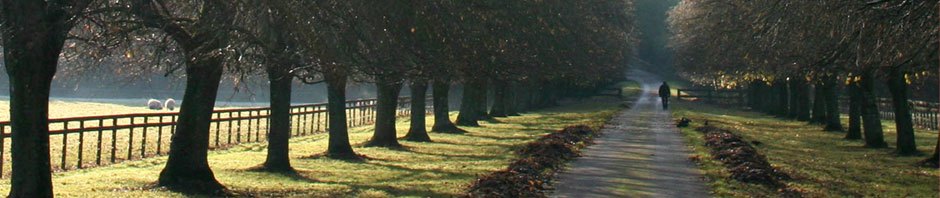
Take a picture composition (building, eg), so it was a luminous moon in the sky – complicated. You need to do a shot in HDR mode, and when you take a photo with the moon still and focus to clean the moon, adjust the exposure and further in any case have to be the moon in Photoshop separately. Having the same here is a picture of the moon, it can be placed on almost any picture. For Example, here is a
Reference
- This whole tutorial is essentially an exposition prepared by a professional photographer from Canada Tony Northrup tutorial, which can be found at his website. In addition, there can be found a lot of new things and buy the book Stunning Digital Photography, which are different tips and tricks to create good photos. The book is available in electronic form in the Google play and iTunes, and costs for Russia are much cheaper.
- Video version by Tony (English)
![]()
